
In this article we will discuss how to manually backup Microsoft 365 data.
1. From the left panel of your dashboard, click Users.
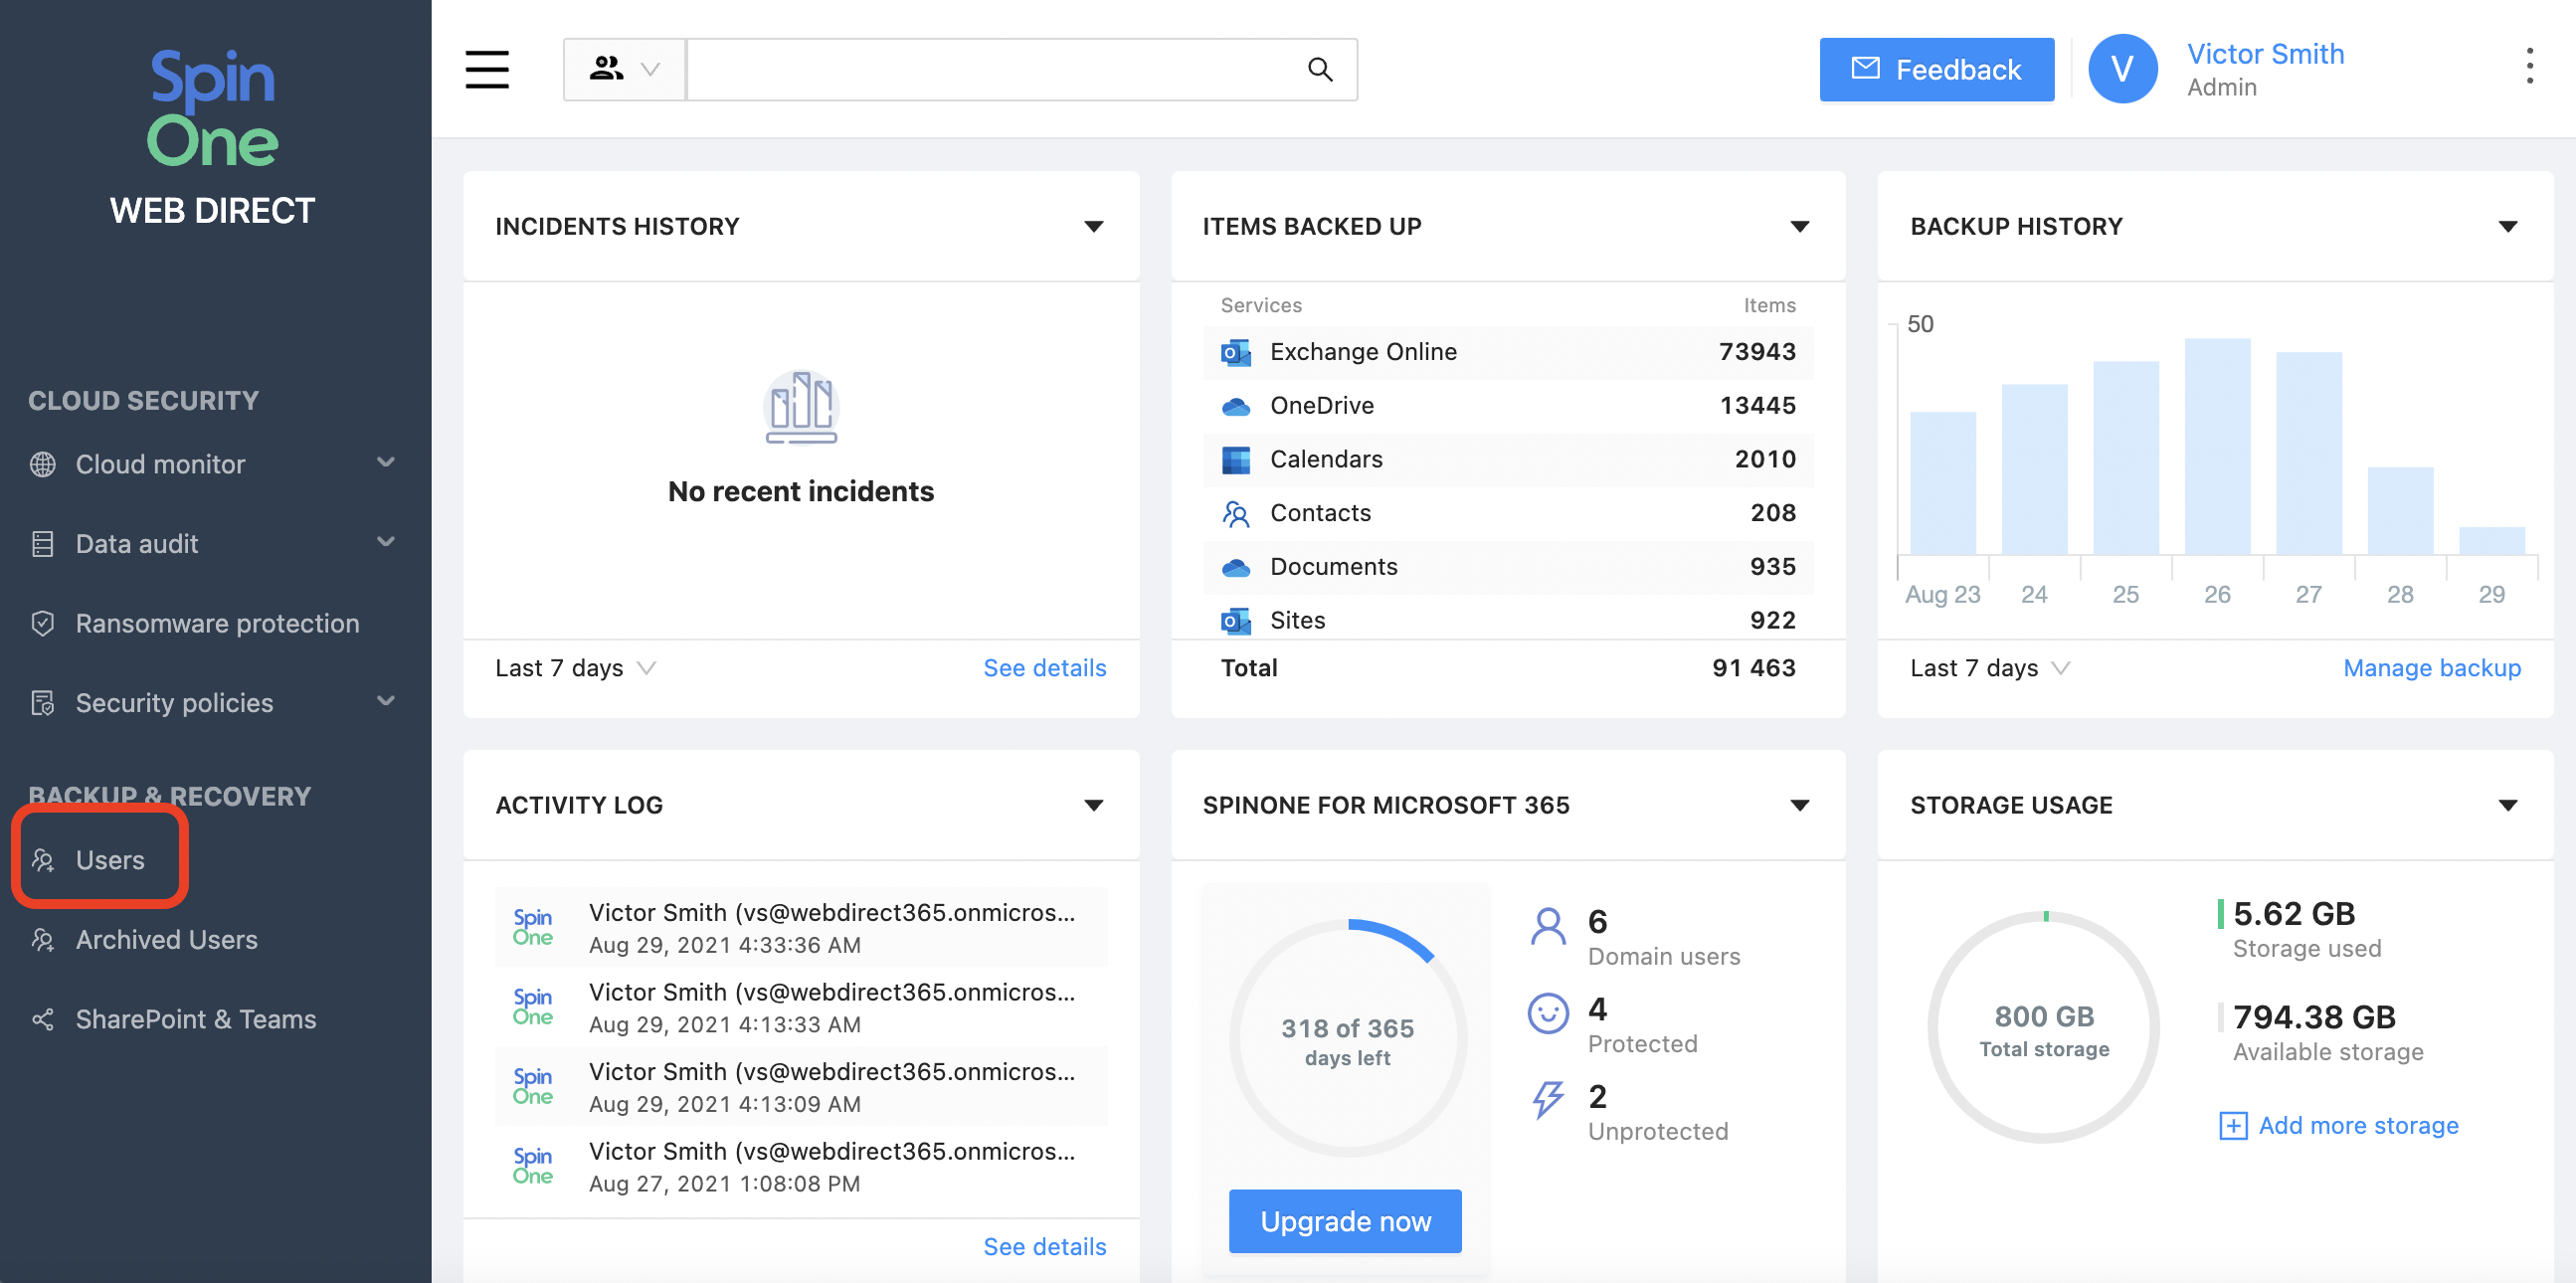
You will see a list of all activated users from your Workspace organization. You can filter licensed users in SpinOne who are either active, suspended, or deleted in your Microsoft 365 organization.

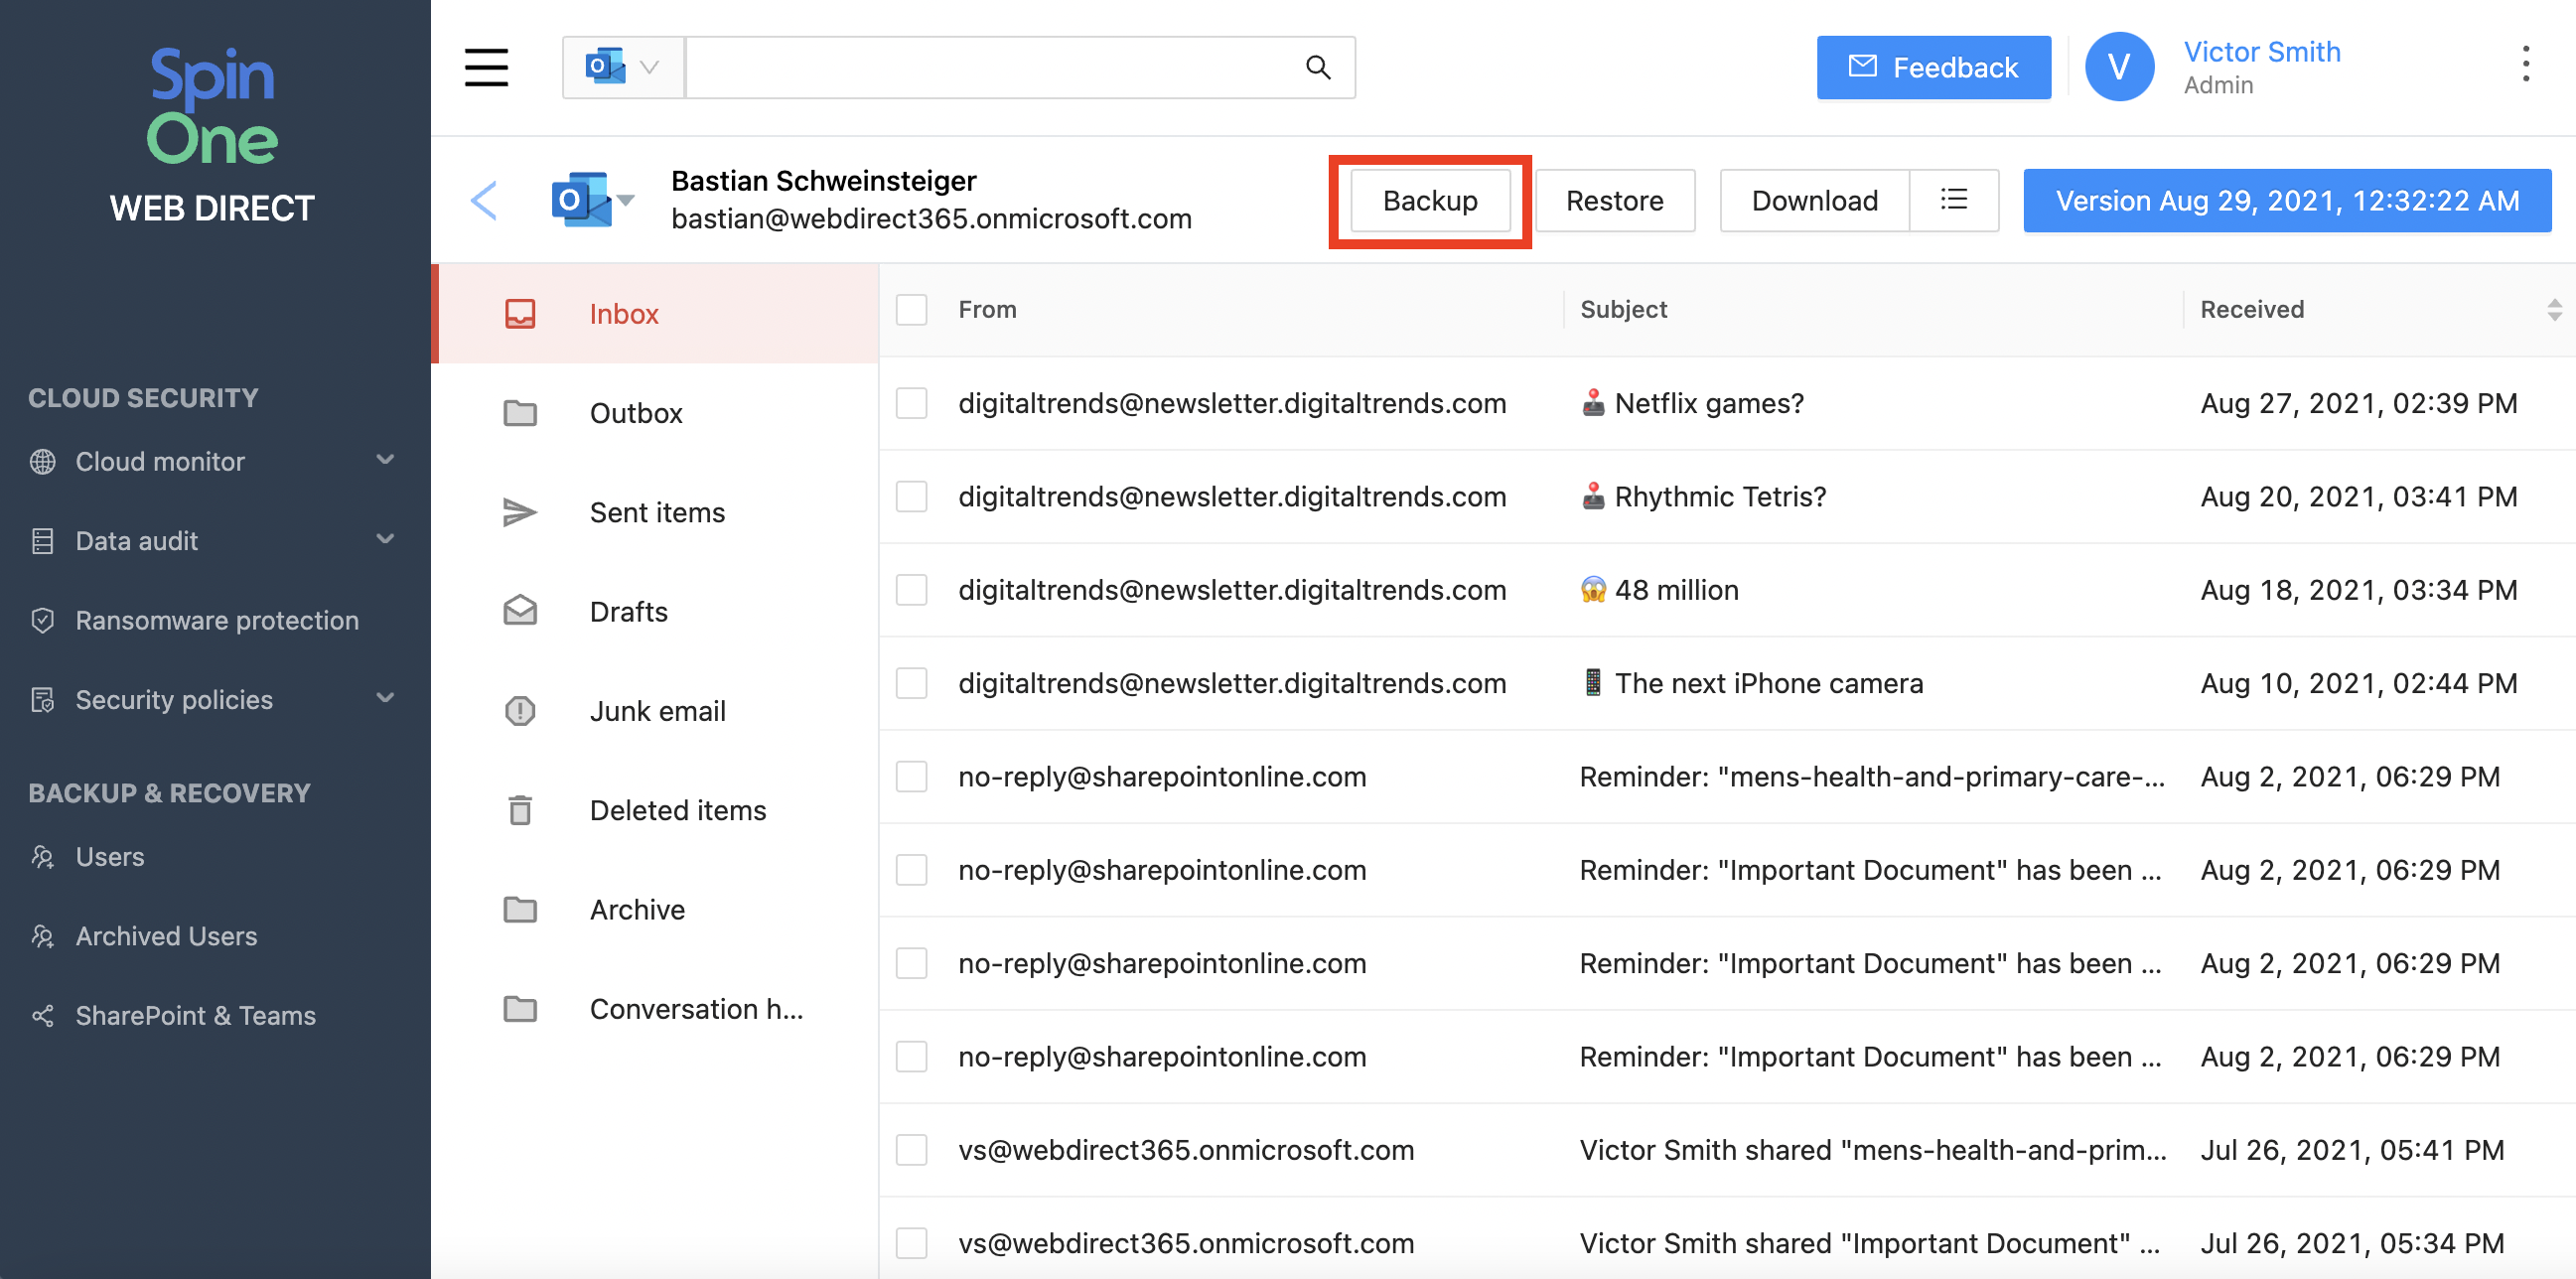
2. Choose the user whose account must be backed up, unfold it by clicking on +/- button and click on the Exchange Online button under the user’s name or select the symbol for Exchange Online for the specific user.

3. Press Backup.
4. When the backup process is complete, you can see the mailbox with its folders hierarchy successfully backed up.
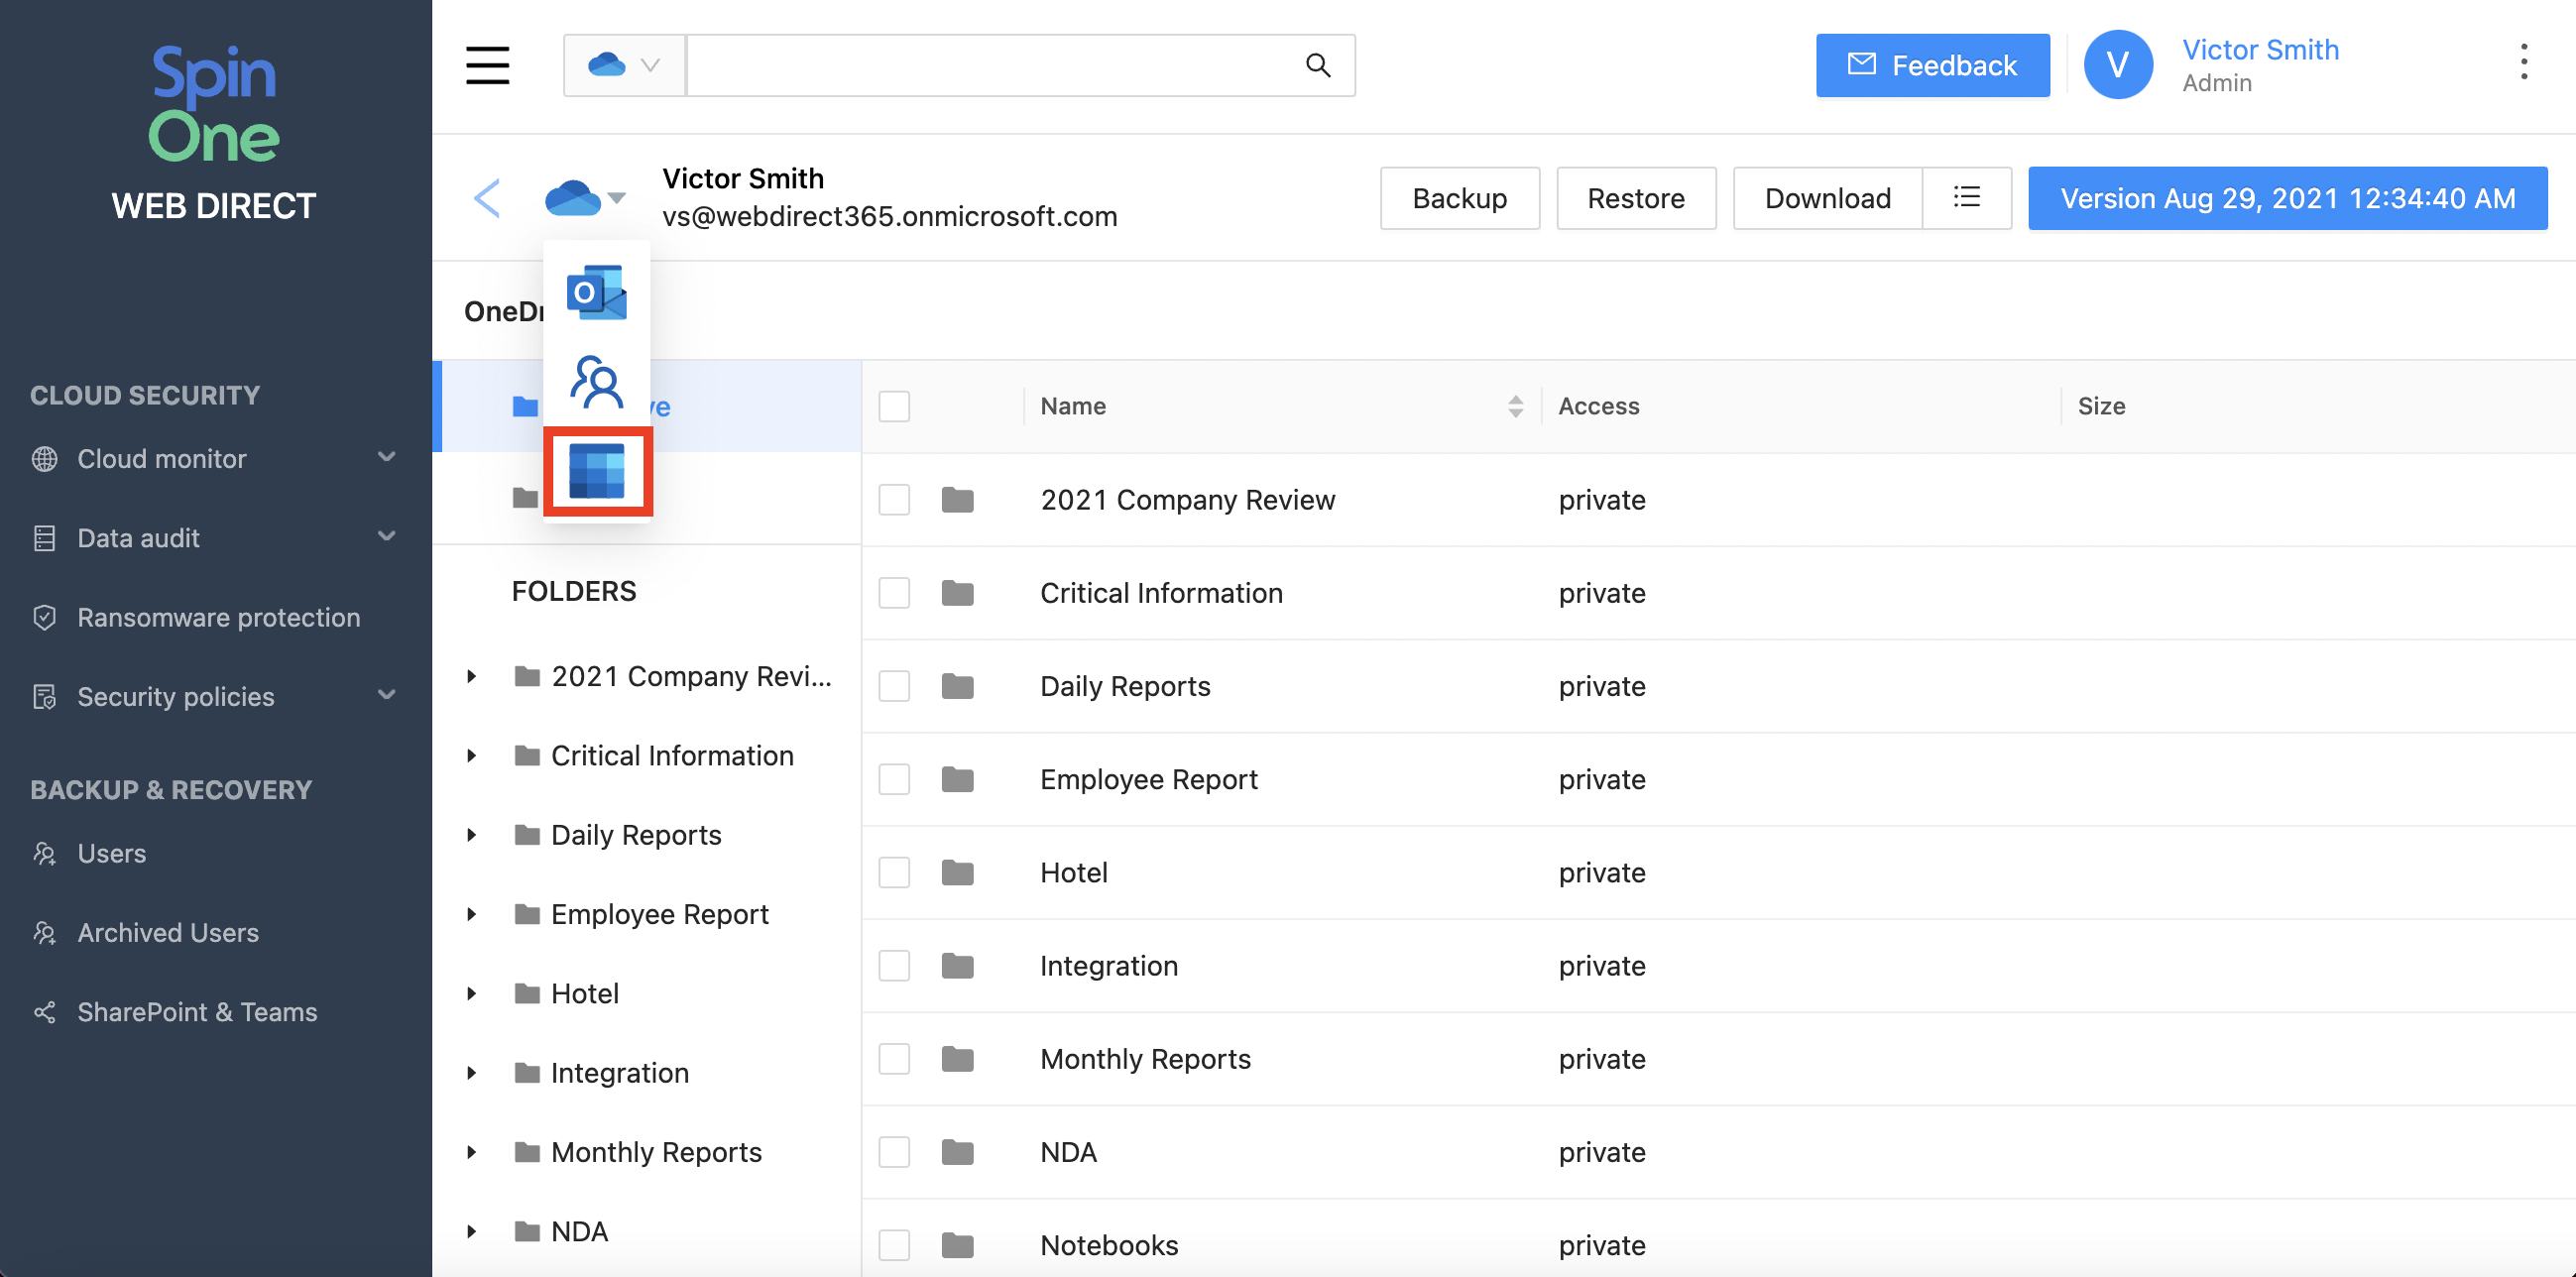
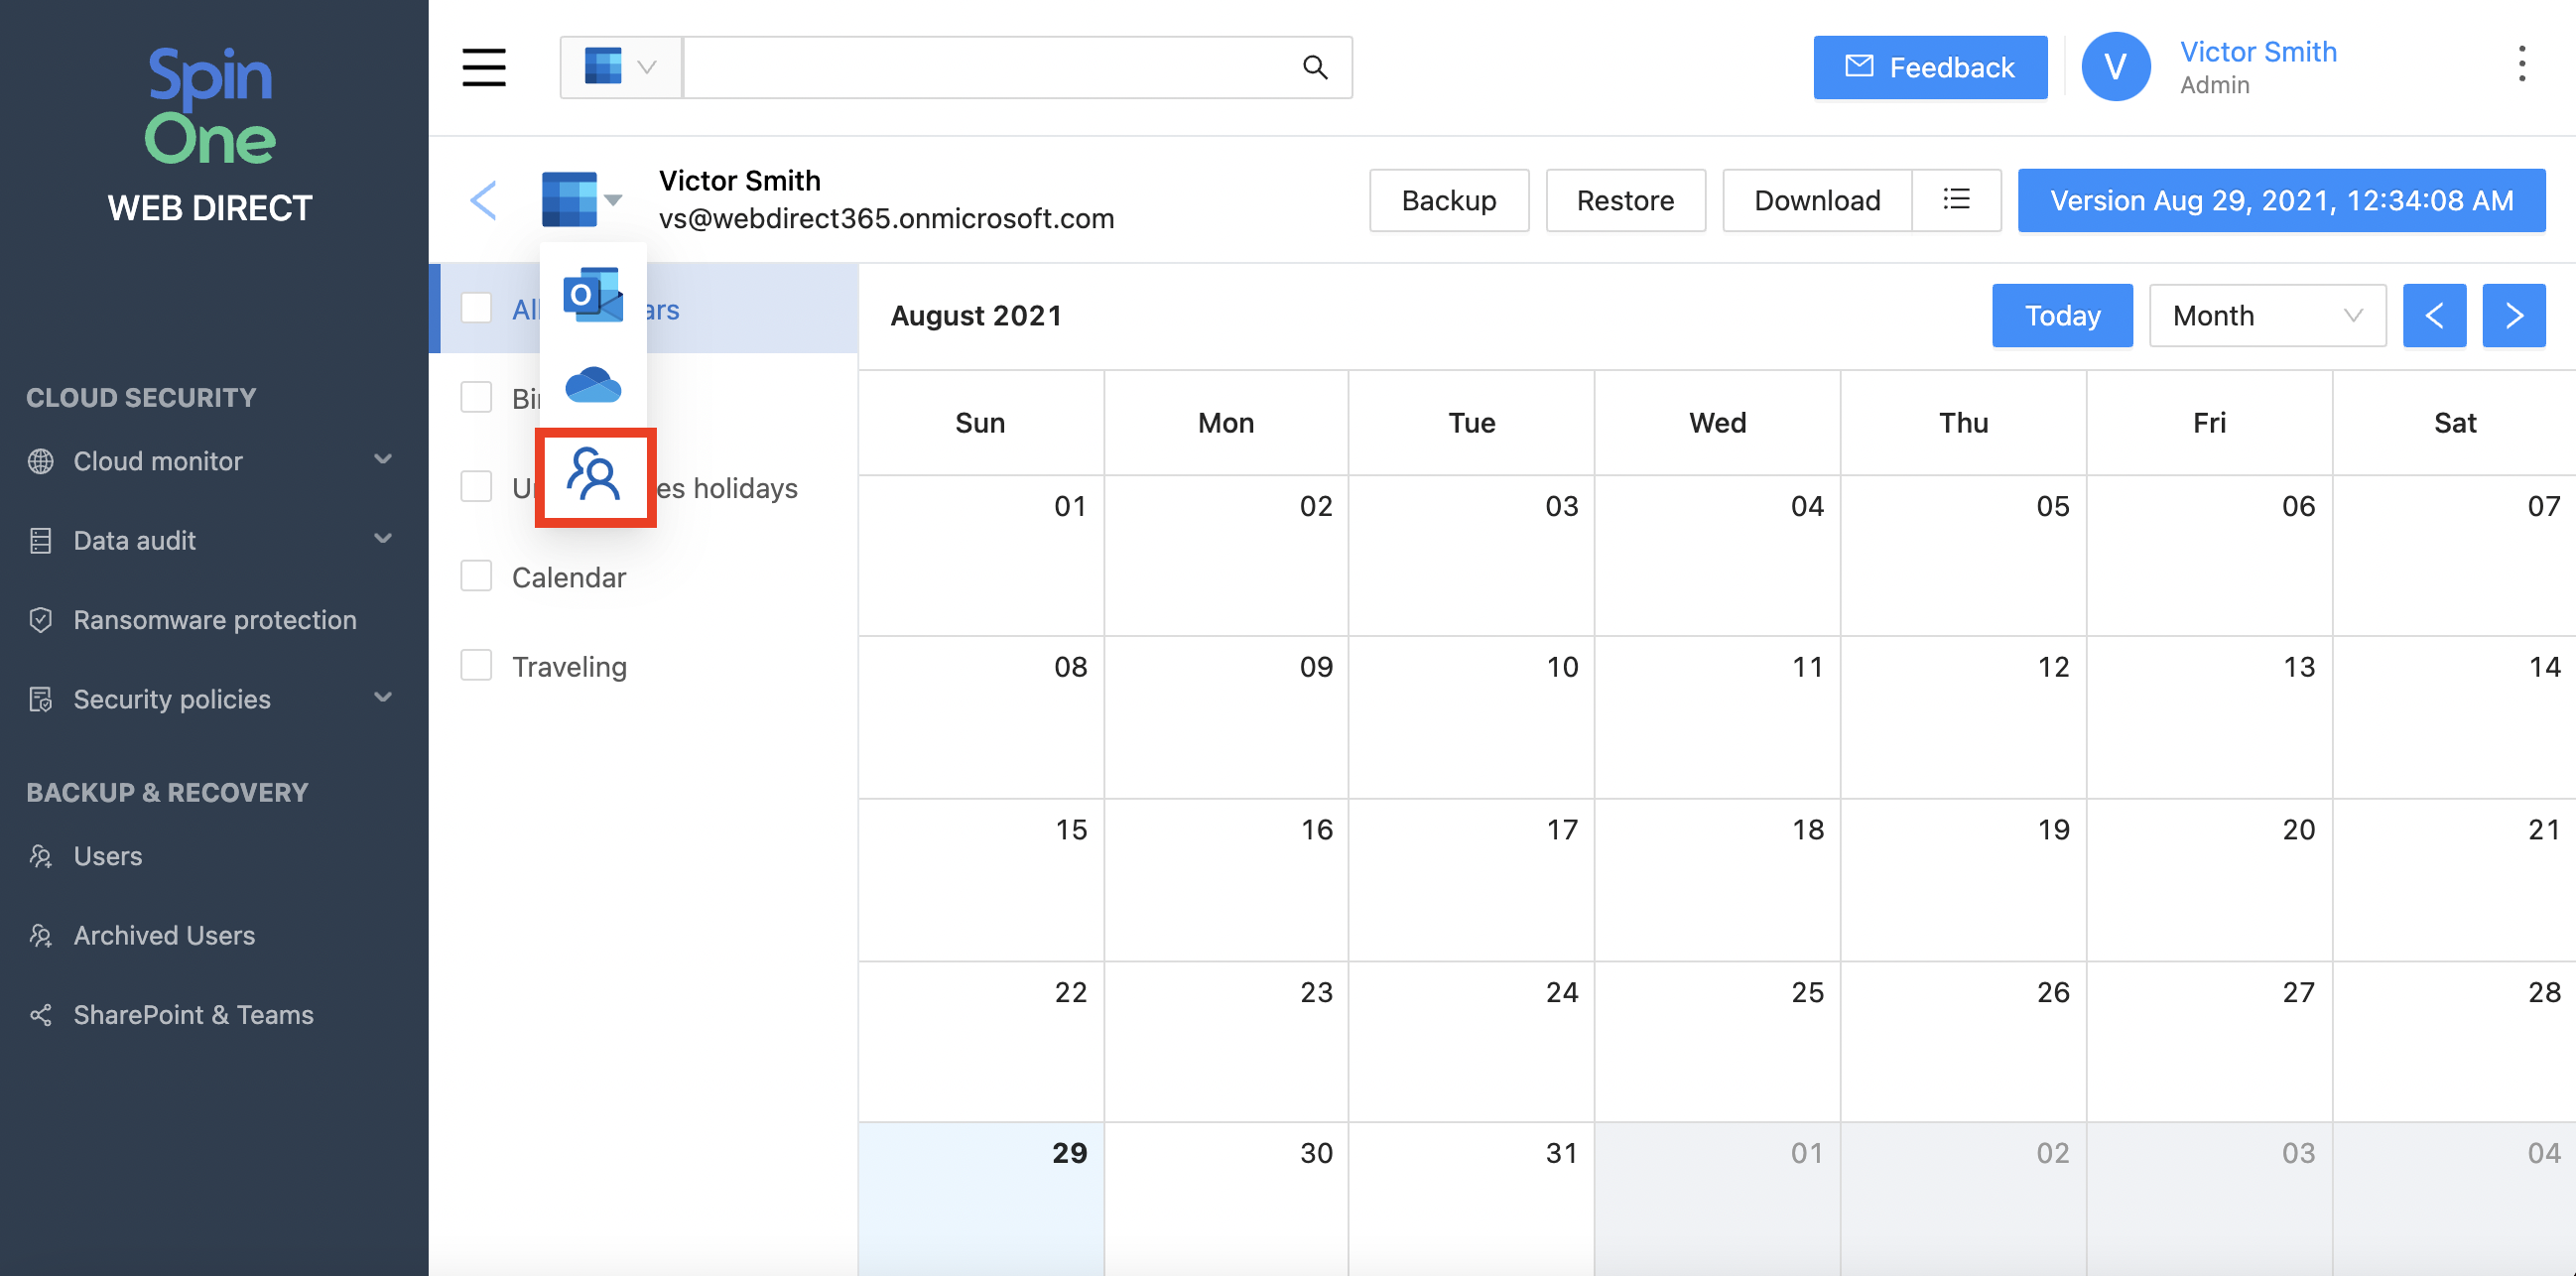
From the service selector on the top left, you can switch to other Microsoft 365 services for the user.
5. Select OneDrive and once on the OneDrive window, follow the same steps as with Exchange Online. Press the Backup button.
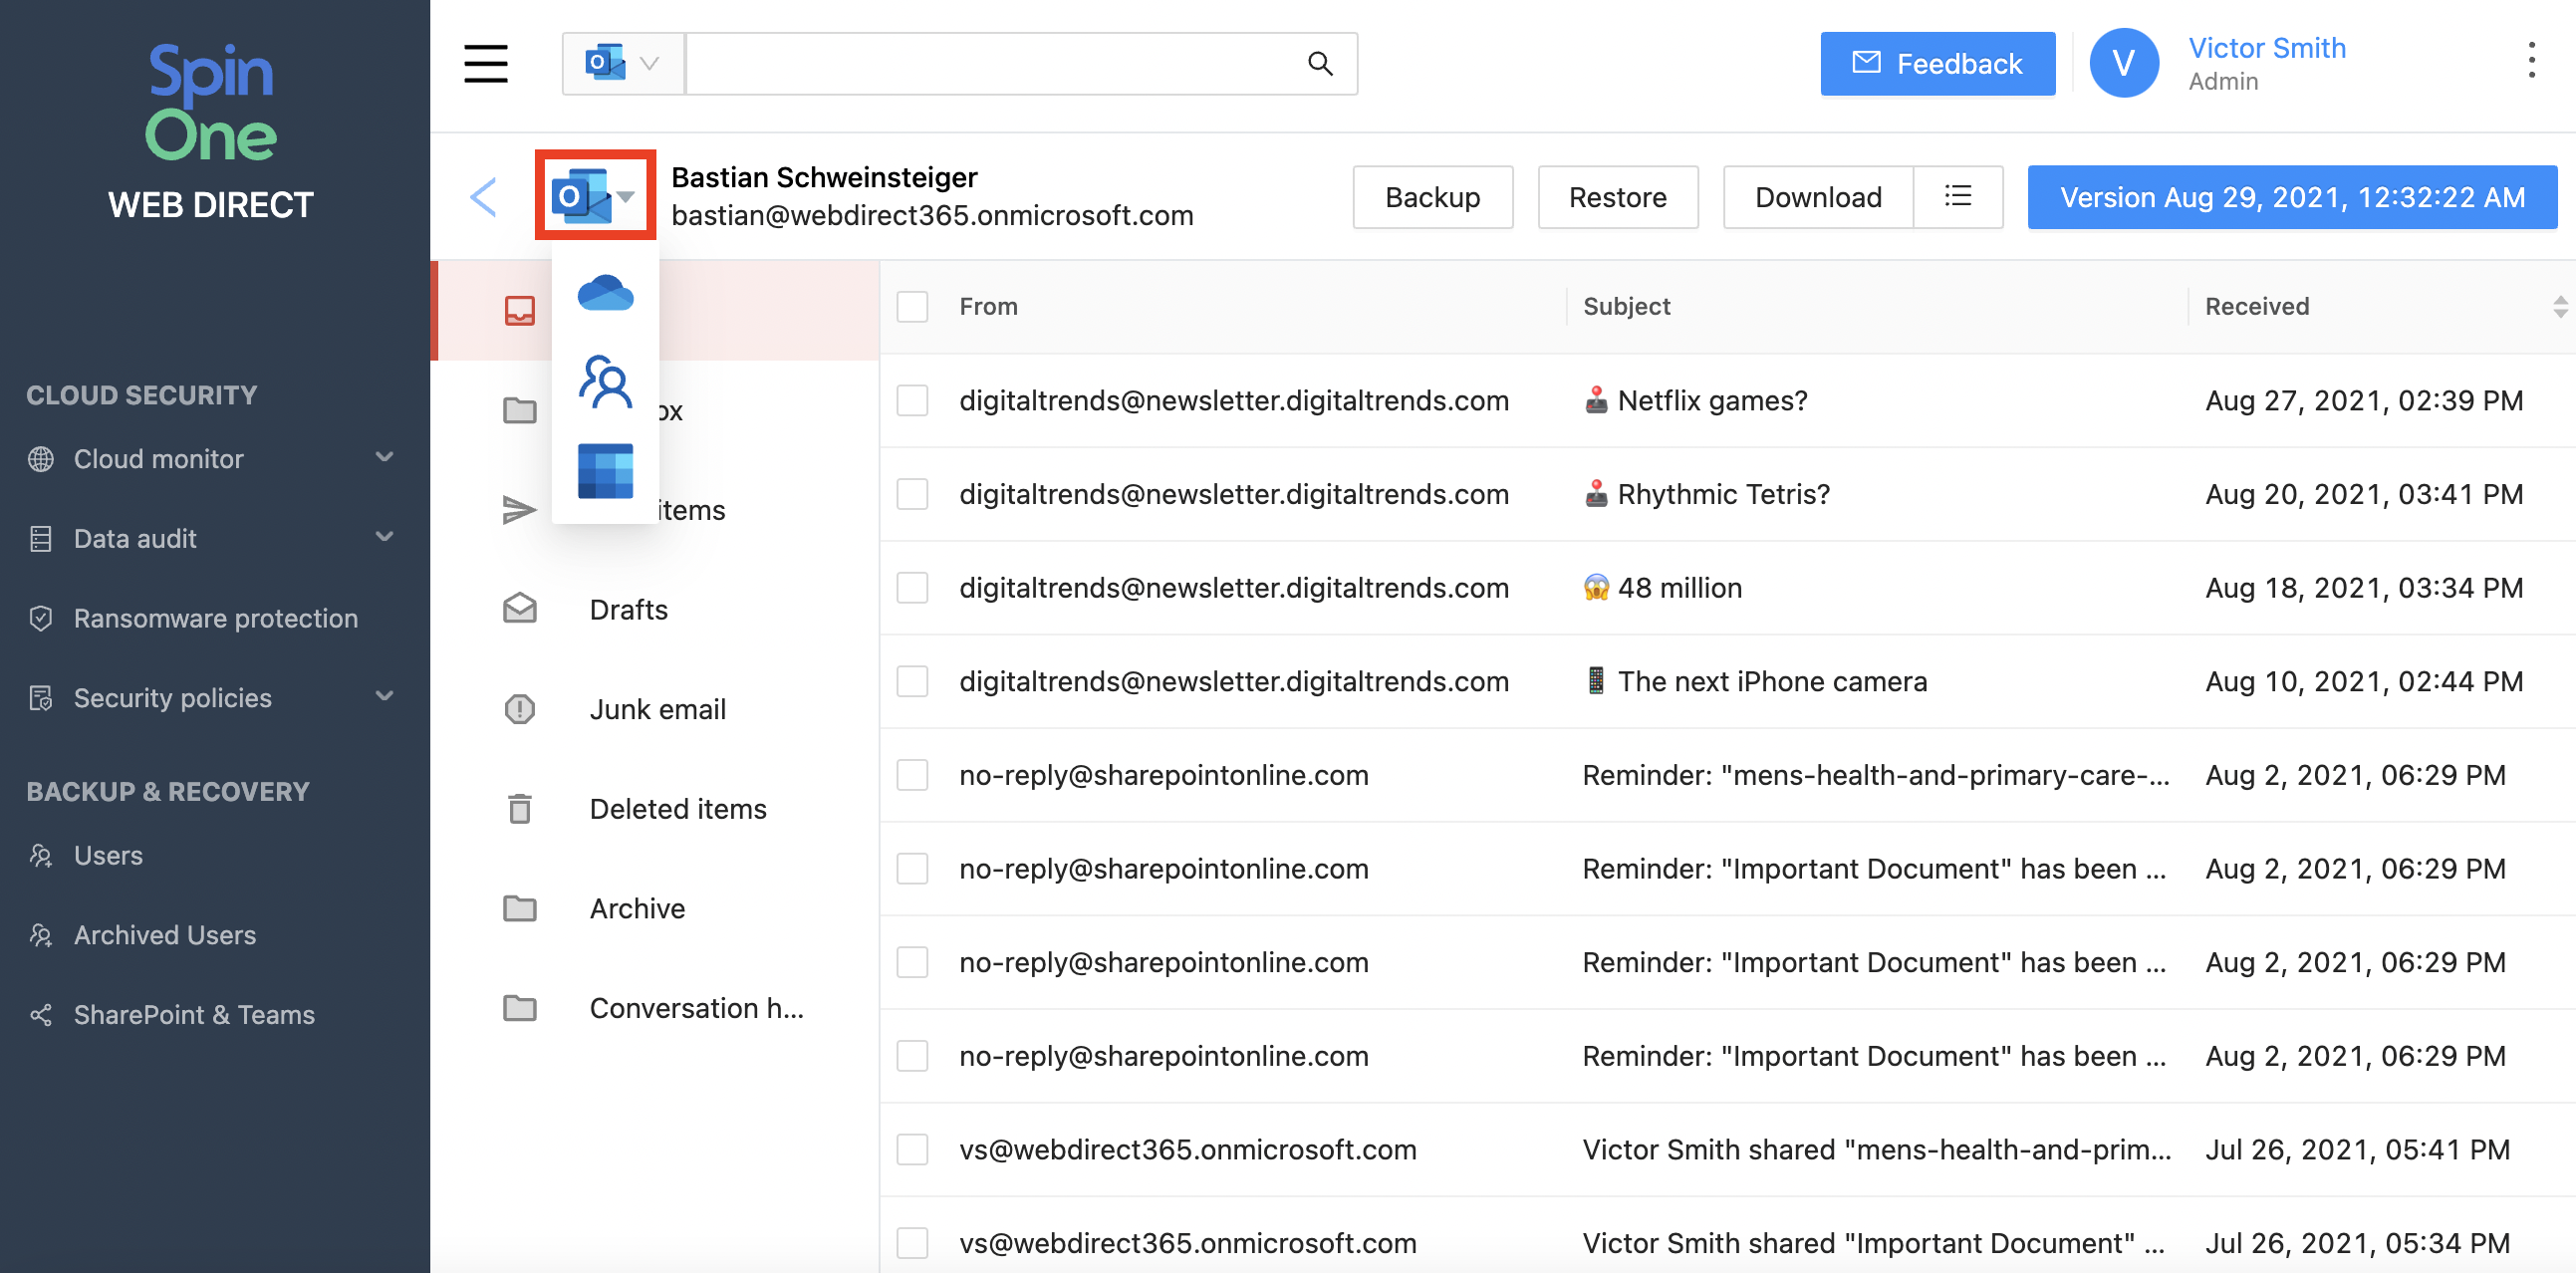
6. Select Microsoft Contacts and once on the Contacts window, follow the same steps as with OneDrive. Press the Backup button.
When the backup process is complete, you can see all Calendars events backed up.
7. Switch to Microsoft Calendar from the service selector, follow the same steps as with Exchange Online. Press the Backup button.
Now we learned how to manually backup a Microsoft 365 Account. Renewed versions of the service will be created automatically during the following backups.