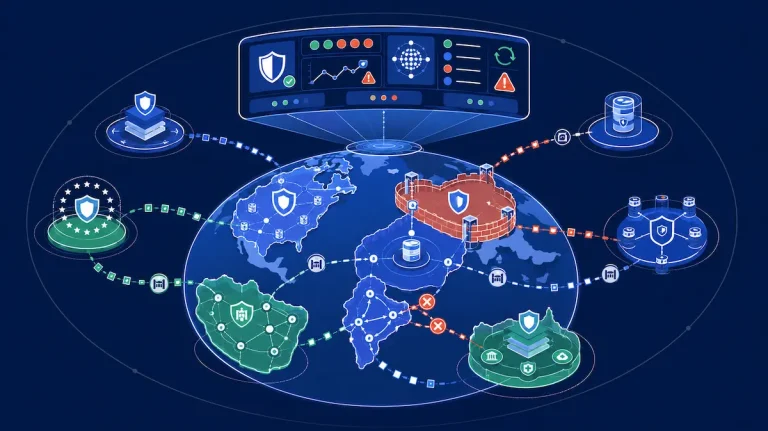
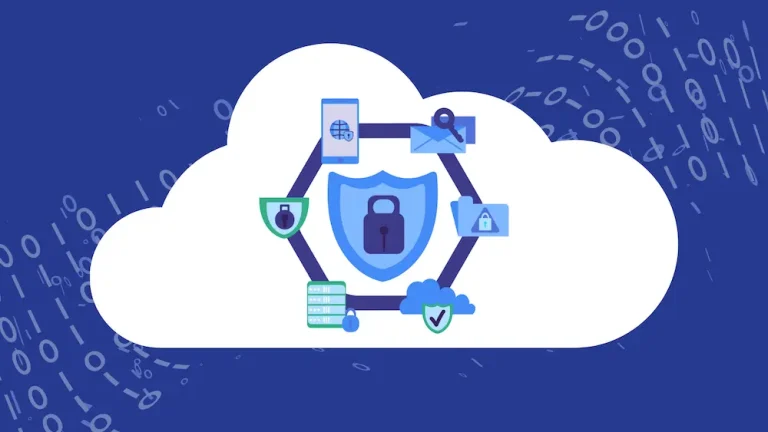
An Introductory Guide to Data Residency
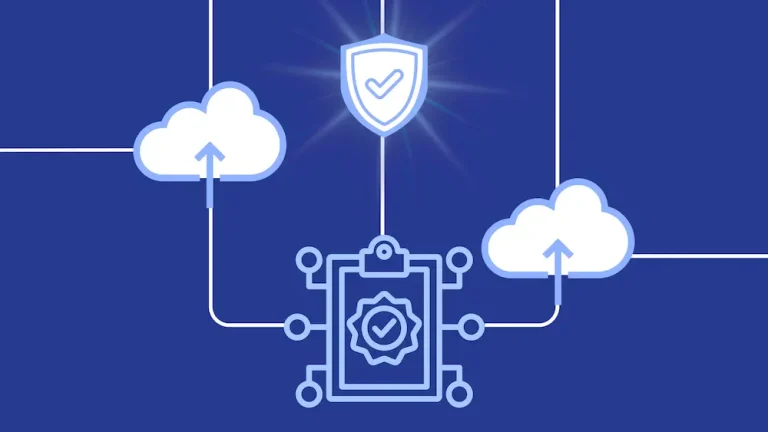
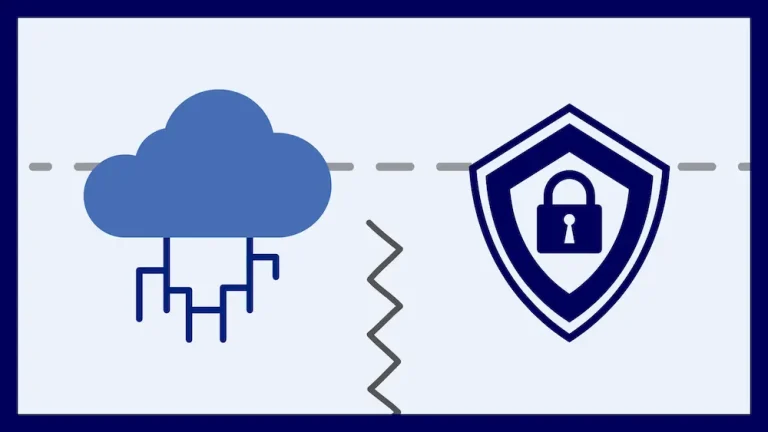
TL;DR Data residency is the question of where, physically, your data lives, such as which...
The browser extension ecosystem just experienced one of its most sophisticated attacks to date. What began as an initial malicious extension discovery by Koi Security has...
Read More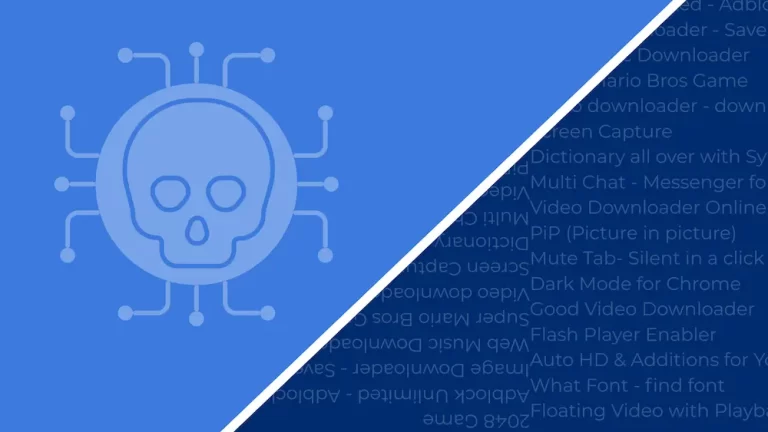
TL;DR Data residency is the question of where, physically, your data lives, such as which...

We recently spoke with an Atlassian admin who walked us through a situation every Jira...
TL;DR An immutable backup is a backup that the storage layer refuses to let anyone...
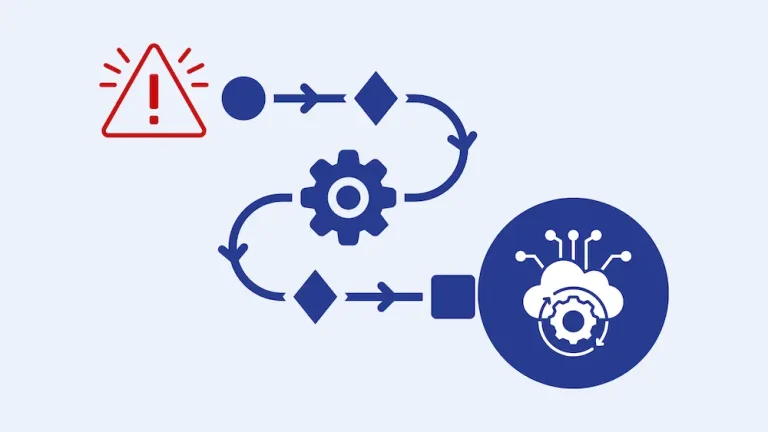
TL;DR A Claude-powered coding agent running inside Cursor wiped out a SaaS company’s entire production...

When we founded Spin.AI back in 2017, the premise was simple: organizations moving to the...
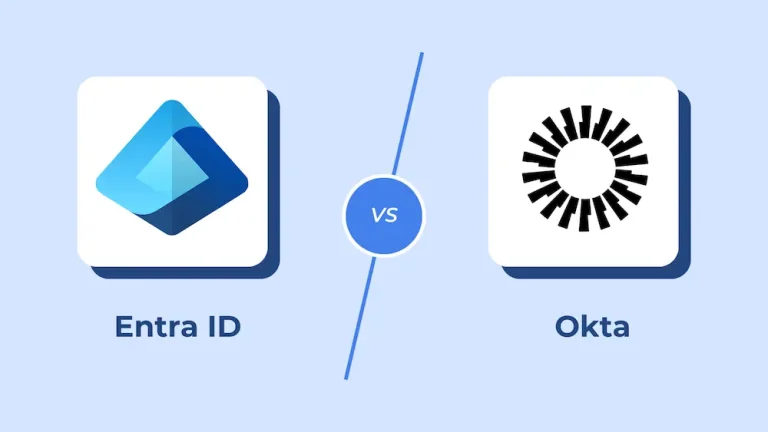
TL;DR Summary Microsoft Entra ID and Okta are both leading enterprise IAM solutions, but they...
Every SaaS application in your environment now inherits risk from somewhere else. Take the OAuth...
Many security teams are still building defenses around the wrong moment, watching specifically for mass...
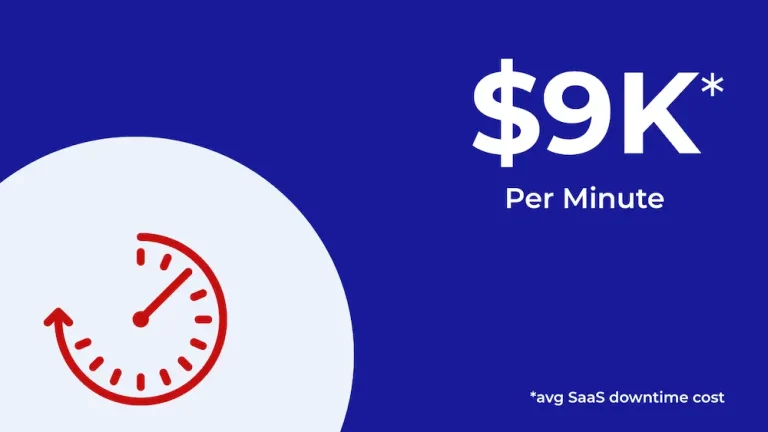
The average cost of a breach in the U.S. hit $10.22 million in 2025. That’s...
Teams used to operate under the assumption that every new SaaS app needs its own...
In 2026, regulatory enforcement has accelerated beyond checkbox compliance. OCR closed 11 investigations with financial...

We tested something in early 2026 that changed how we think about OAuth and browser...
You’ve probably been managing identity and browser security as separate responsibilities for years. Not because...

When organizations run their quarterly browser compliance audits and get a clean report, something important...
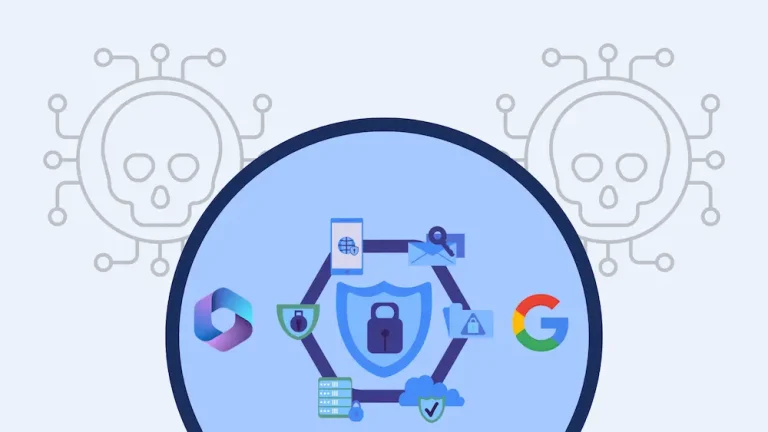
We’ve analyzed 550,000+ browser extensions across enterprise environments. The pattern we found challenges a core...

We’ve all spent years building compliance programs around quarterly audits, annual reviews, and point-in-time assessments....
Mid-market companies now run mission-critical operations on SaaS platforms. Their finance teams live in Salesforce....

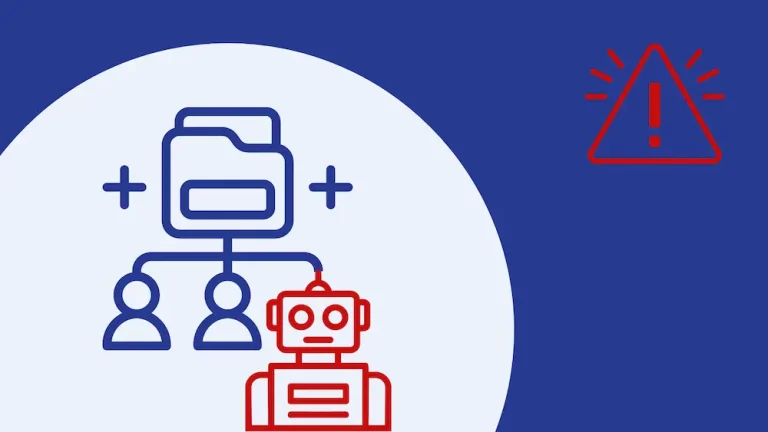
We shouldn’t be surprised to learn that plenty of enterprise employees using generative AI tools...
Most midmarket organizations manage more than 80 security solutions from nearly 30 different vendors. The...
Manual compliance does not scale. We’ve watched organizations try to keep pace with HIPAA and...

Manual compliance doesn’t scale. We’ve watched organizations try to keep pace with HIPAA and GDPR...

For a long time now, practitioners have been treating SaaS security like it’s a point-in-time...

Every security practitioner you know has watched hundreds of organizations pass their annual audits with...

Companies spend millions on threat detection, train employees on phishing, patch vulnerabilities the moment they’re...

When you migrate to Microsoft 365, Google Workspace, or Salesforce, the vendor tells you the...
You spend millions on threat detection. You train employees on phishing. You patch vulnerabilities within...
On December 24, 2025, Trust Wallet’s Chrome extension pushed a malicious update that drained $8.5...
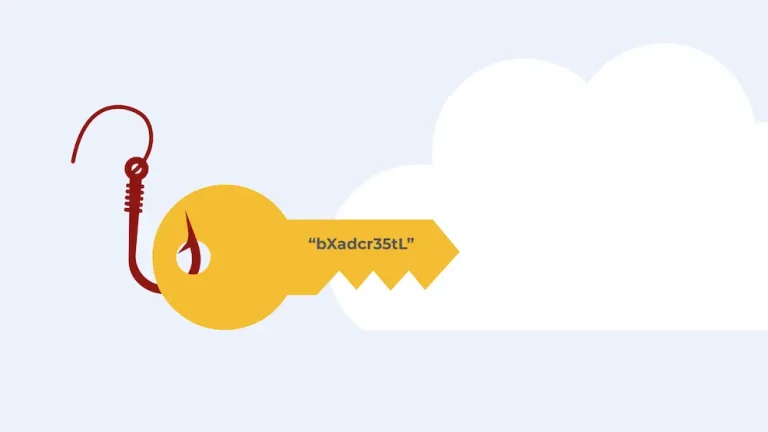
You’ve probably spent years teaching employees to spot fake login pages. You’ve deployed MFA everywhere....
When you first became aware of the tremendous risk browser extensions can pose, you probably...
The SaaS industry has quietly crossed a threshold most organizations haven’t acknowledged yet. SaaS applications...
We built our SaaS backup platform to protect against ransomware and accidental deletion. Then we...
It’s hard to watch organizations discover the painful truth: having backups and having a recovery...
We keep hearing the same question from IT teams: “Doesn’t Microsoft 365 already back up...

You’ve likely been thinking about Data Loss Prevention wrong for the past decade. Most security...

Your analysts face 960 security alerts daily on average. Enterprises with more than 20,000 employees...

I’ve watched security teams deploy a legacy DLP solution and write rules to catch sensitive...
The conversation has shifted over the past 18 months. SaaS backup used to live in...

A healthcare CISO can spend three months tuning DLP rules for Google Workspace, only to...

We’ve been tracking a pattern that most security teams still haven’t had time to internalize....
More often than not, people imagine Gmail is the only usable resource in Google’s orbit,...

Ransomware isn’t just malware that encrypts files anymore. In many modern attacks, encryption is the...
Governance, risk, and compliance (GRC) is a structured approach organizations use to align leadership oversight,...

Security teams managing DLP in SaaS environments tell me the same thing before we even...

The clearest early signal that your data security strategy is failing isn’t a breach or...

Security teams managing traditional DLP systems spend roughly one-third of their workday on incidents that...

We’ve analyzed hundreds of healthcare organizations running traditional Data Loss Prevention tools in Google Workspace...
You’ve probably been thinking about browser security wrong. Most organizations treat browsers as endpoints to...
In supporting 1,500+ organizations over nearly a decade, we’ve seen a strong trend emerge with...
We started noticing something uncomfortable in our research about two years ago. Browser extensions and...
We keep hearing the same story from healthcare CISOs. They’ve invested in endpoint detection, firewalls,...
In the past, even experts thought ransomware was a recovery problem. You get hit. You...
We’ve been watching a pattern emerge across healthcare organizations for the past several years, and...
In our work with numerous enterprise organizations, we’ve noticed that often individual teams within the...
When mission-critical business data lives in SaaS applications, most organizations assume that the vendor has...
When security teams started implementing zero-trust frameworks five years ago, they focused on users, endpoints,...
We’ve been watching an uncomfortable pattern emerge across ransomware incidents over the past few years....
We’ve been watching backup vendors absorb SSPM capabilities for the past few years. What first...
As organizations modernize how teams collaborate, many eventually find themselves moving content, sites, and workflows...
SharePoint is one of the most powerful collaboration platforms in Microsoft 365. Teams use it...
We’ve talked to scores of IT teams right after they discovered a gap in their...

Representative Vendor, Backup as a Service

SourceForge Top Performer Award badge 2026


Schedule a 30-minute personalized demo with one of our security engineers.


